Dashboard Overview
The dashboard is designed to answer three questions quickly:
- Is your bot live?
- Can you start chatting with it right now?
- If something feels off, where do you go next?
What To Look At First
- Open chat is the fastest way to start using your bot after deployment.
- Settings is where you connect your AI provider and check account-level preferences.
- Integrations is where you connect supported apps that can be shared across bots.
- Support is where you go if setup, billing, or a channel connection gets stuck.
What The Main Areas Mean
- Summary cards show how many bots are active, paused, or need attention.
- Fleet shows all of your current bots in one place.
- Bot workspace opens when you click a bot and gives you the pages for overview, persona, setup, files, and anything more advanced.
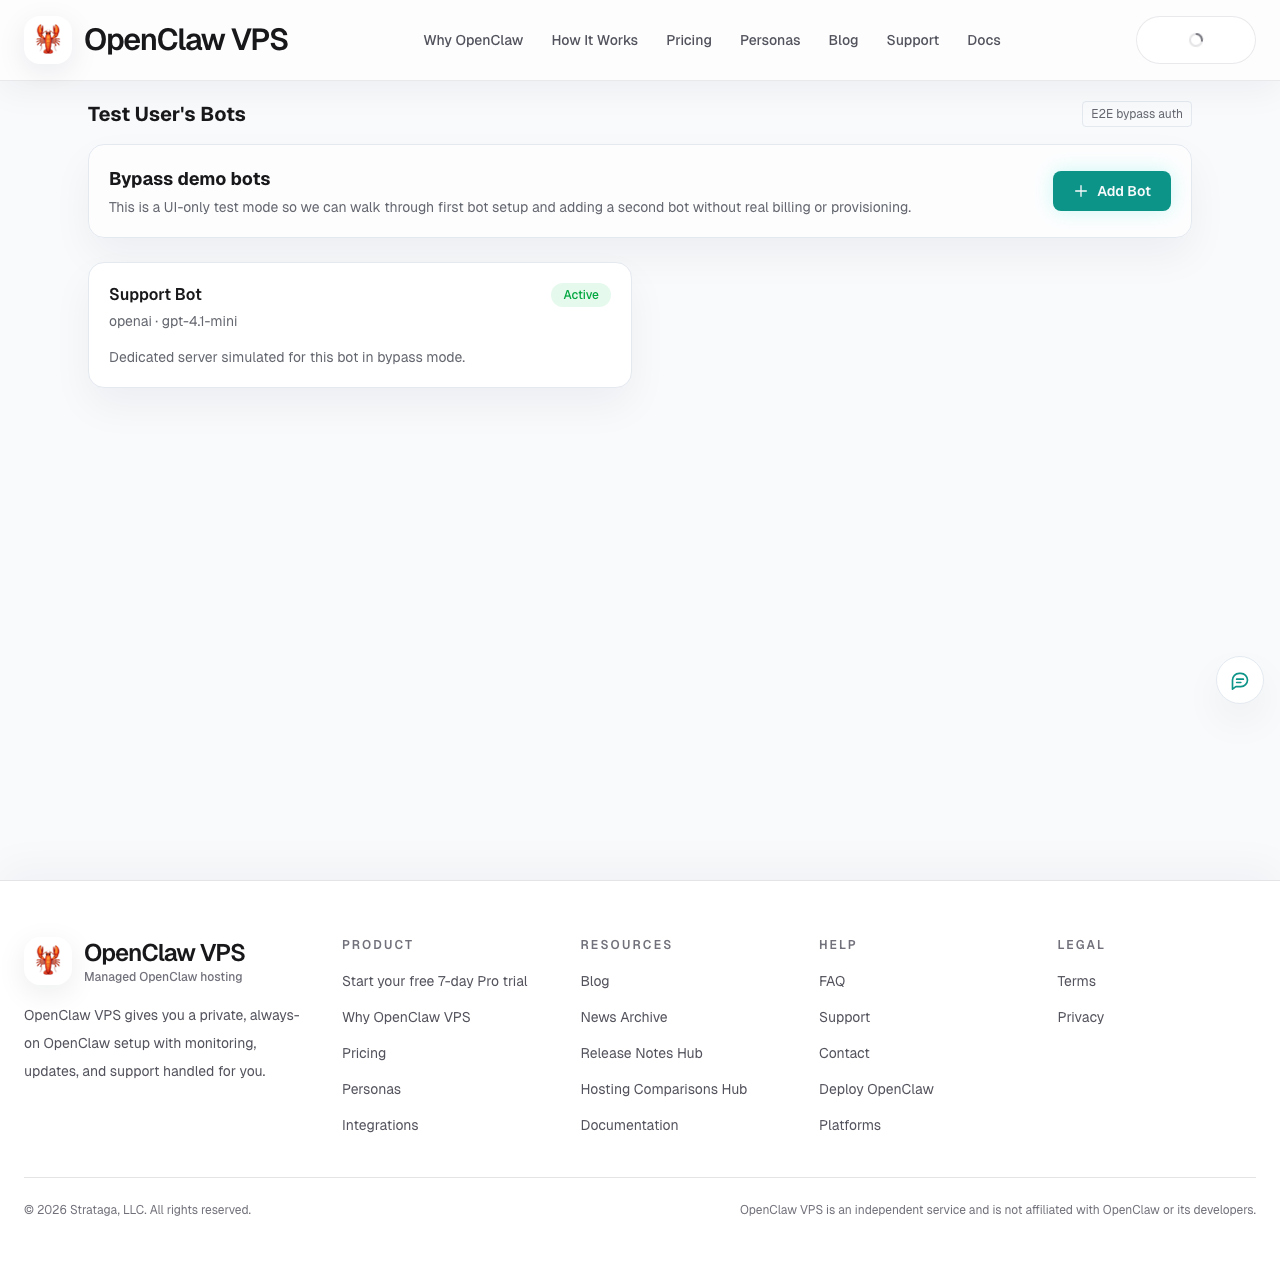
Example Dashboard View
What The Main Tabs Are For
- Overview: The fastest way to see what is ready, what still needs attention, and what to do next.
- Open chat: Use the dashboard chat space for one bot or the shared room.
- Persona: Pick a ready-made persona that matches the kind of help you want.
- Setup: Save your AI key, web chat settings, and Telegram setup.
- Files: Add files that stay with this bot.
- Advanced: Logs, metrics, alerts, controls, and deeper tools for troubleshooting.
Recommended Order
For most people, the easiest order is:
- Finish AI key setup
- Open chat
- Test the bot in web chat
- Add Telegram only when you want an external channel
If You Are Not Sure Where To Go
- Need to start using the bot: go to Open chat
- Need to connect your AI key: go to Setup
- Need to connect Telegram: go to Setup
- Need to upload a file: go to Files
- Need help: open Support
Adding Another Bot Later
When you add a second bot, the dashboard keeps the process short and lets you reuse the AI setup from an existing bot.
